
- prev
- next
DIY Kit Game Kit Creative Electronics Experiment Toy Kit Module MCU Computer Game Machine for Snake/Plane/Racing
| Quantity | 30+ |
| Price | $8.30 |
Product Details
Parameters:
| No. | Parameter | Value |
| 1 | Product name | MCU computer game machine |
| 2 | Model | CZL--YXJ01 |
| 3 | Voltage and current | 5V-100mA |
| 4 | Power supply interface | Portable charger, power adapter, computer USB, battery box power supply |
| 5 | Control mode | Large size button control |
| 6 | PCB material | Golden military grade FR4 |
Features:
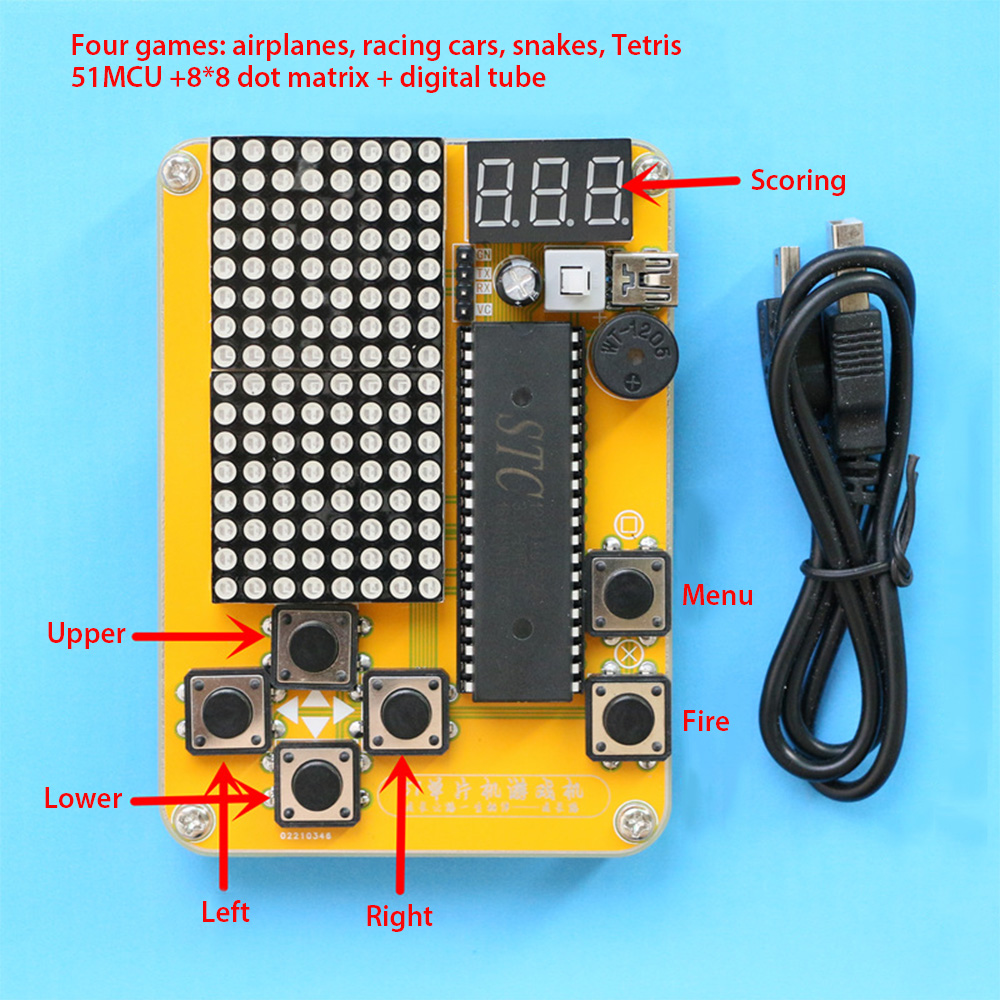
1>. With the dot matrix of 16*8.
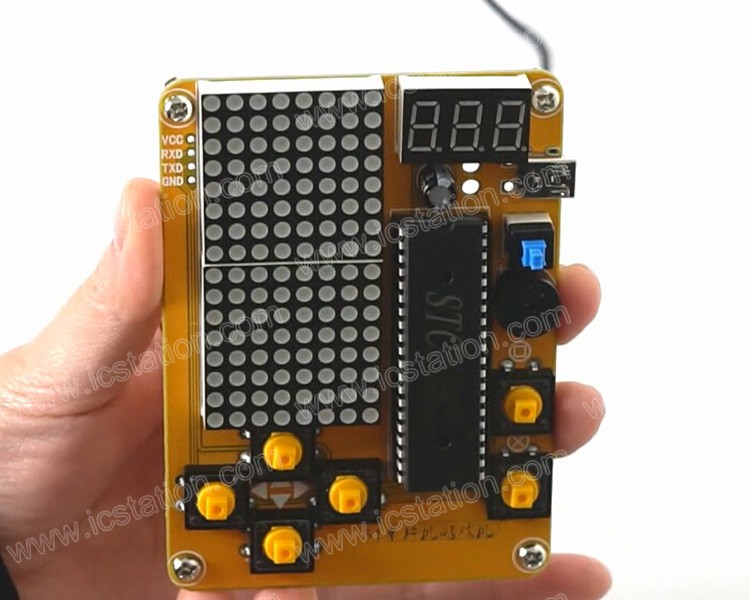
2>. All copper mini USB, 3 bit mini digital tube.
3>. Golden PCB looks more exquisite.
4>. STC12C5A60S2 high speed and high speed.
5>. Humanized keypad arrangement.
6>. 12mm big button, better feel.
7>. Corner treatment is better.
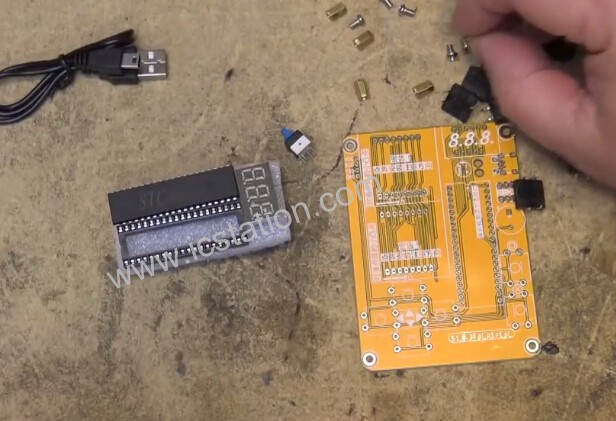
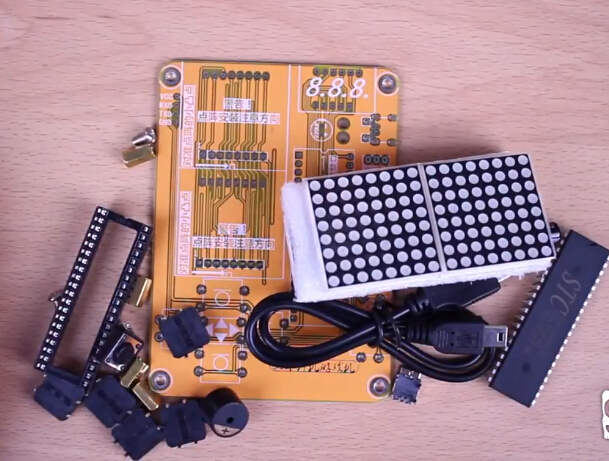
Components List:
| No. | Name | Specs. | Packaging | Tag No. | Qty | Remark |
| 1 | Buzzer | 12mm5V passive | BEEP-12MM | B1 | 1 | In no particular direction |
| 2 | Electrolytic Capacitor | 16V_220UF | RB_01_6.3X5 | C2 | 1 | Long pin is positive |
| 3 | Micro USB | USB_2PIN | USB-micro | J1 | 1 | solder in accordance with the silk-screen |
| 4 | White Switch | SWITCH_2X2 | KTF_8MM0 | S1 | 1 | solder in accordance with the silk-screen |
| 5 | Touch Switch | 12x12 | 12x12 | S2,S3,S4,S5,S6,S7,S8 | 6 | solder in accordance with the silk-screen |
| 6 | Lattice | 3x8 | 0.26 | L1,L2 | 2 | solder in accordance with the silk-screen |
| 7 | Nixie Tube | 8x8 | 30mm | SEG1 | 1 | solder in accordance with the silk-screen |
| 8 | Copper Cylinder | M3*12+6 single pass | 4 | Fittings | ||
| 9 | Bolt | M3x5 | 4 | Fittings | ||
| 10 | Power line | Micro USB line | 1 | Fittings | ||
| 11 | PCB | CZL-YXJ01 | 1 | Main part | ||
| 12 | IC Base | 40p | DIP-40-W or PLCC-44 | 1 | solder in accordance with the silk-screen | |
| 13 | SCM | STC15F2K60S2 | U1 | Insert it into IC Base |
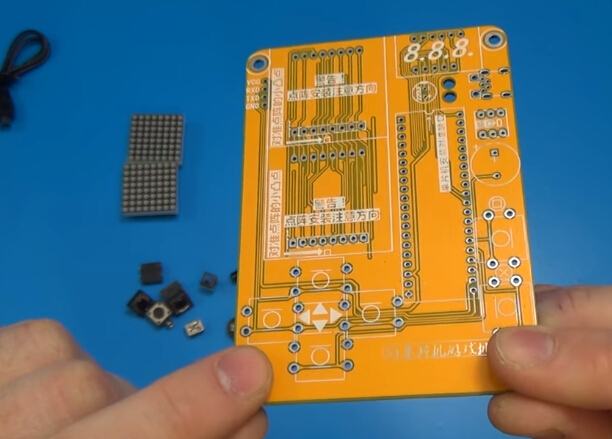
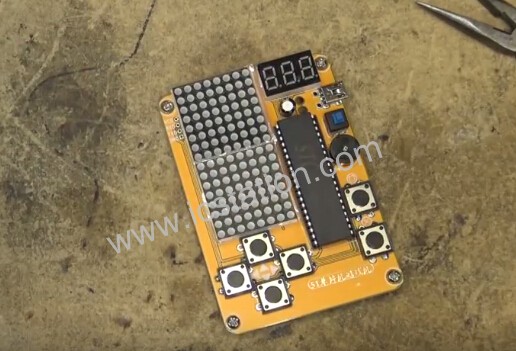
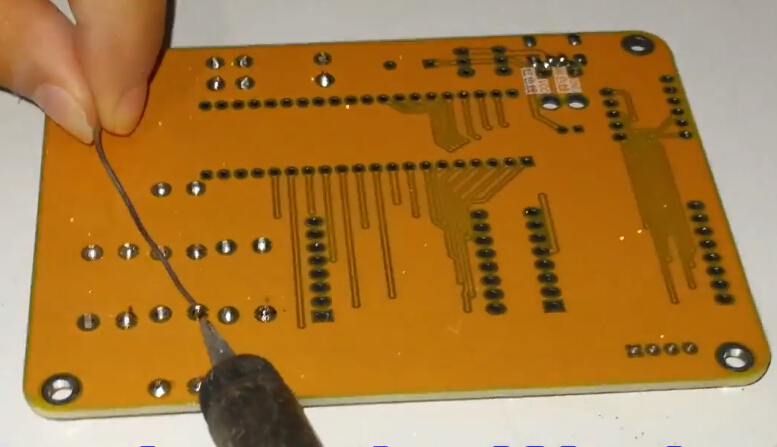
Soldering Steps:
Firstly, solder the parts at the lower point, as is shown, there is no positive or negative difference, install them in accordance with the symbols.
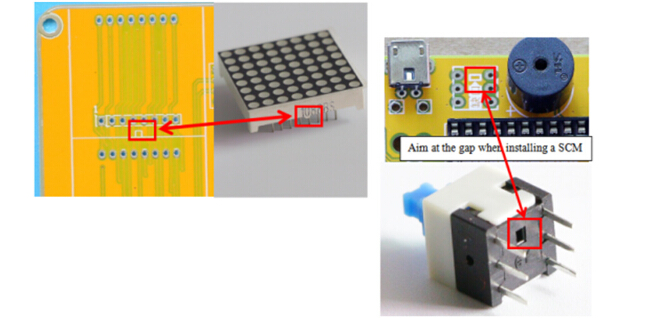
1>.Solder the IC base, be sure to align the direction, two pins at the diagonal positions must be fixed first, then adjust the IC base using the soldering iron, solder the buzzer afterwards, there is no positive and negative difference of the passive buzzer;
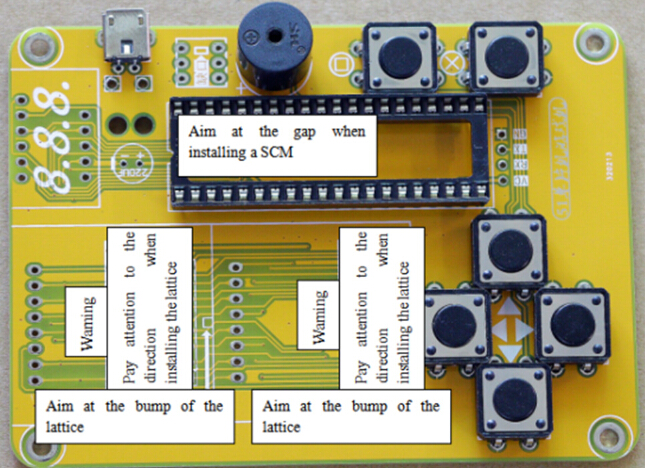
2>.Solder the lattice module. There is a small block under the silk-screen on the PCB as well as a bump at the lattice edge, correspond the block with the bump.
Warning: Don’t install the lattice wrong, it is hard to uninstall the lattice if it’s installed wrong, aim at the direction as is shown in the picture.
3>.Solder the switches, there is a small box on the silk-screen as well as at the bottom of the switch, box to box soldering is enough.
4>.Pay attention to the positive and negative when soldering the capacitor, the long pin is positive while the short pin is negative.
5>.All others electronic components are easy to solder, solder in accordance with the silk-screen.
Warm Tips:
1>. Check if the materials are complete by contrast to the electronic components list, some small components are easy to lose, so attention must be paid;
2>. Carefully read the user’s manual;
3>. Solder the baseboard and test to see if it is normal.
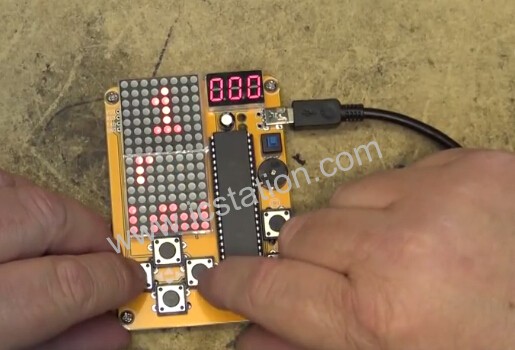
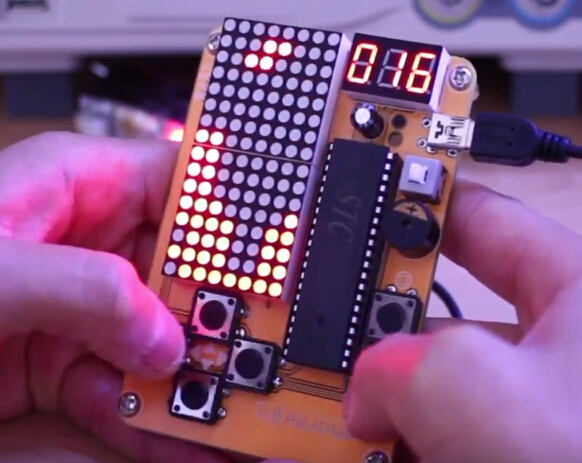
Instruction:
1>. After the boot, the left and right buttons switch games, as follow
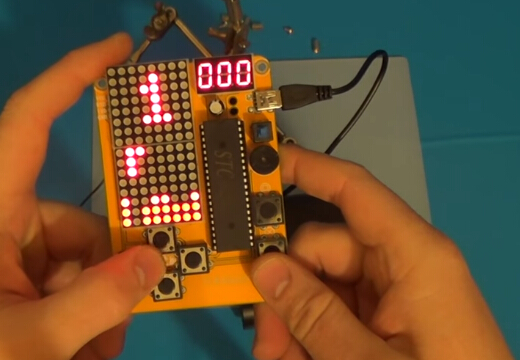
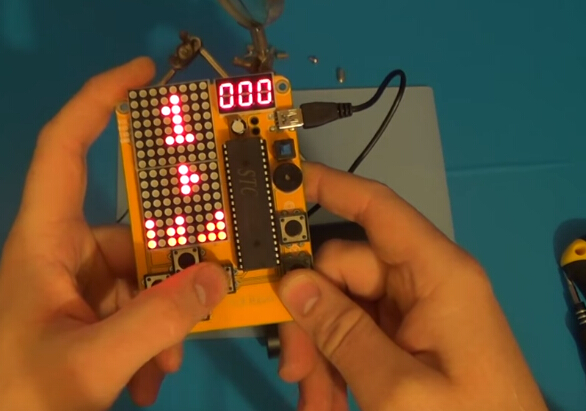
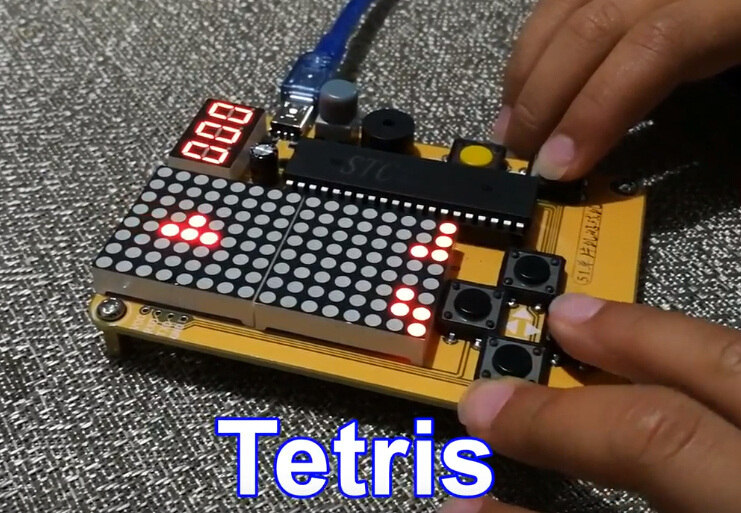
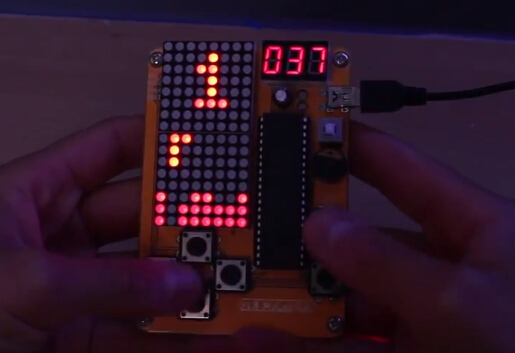
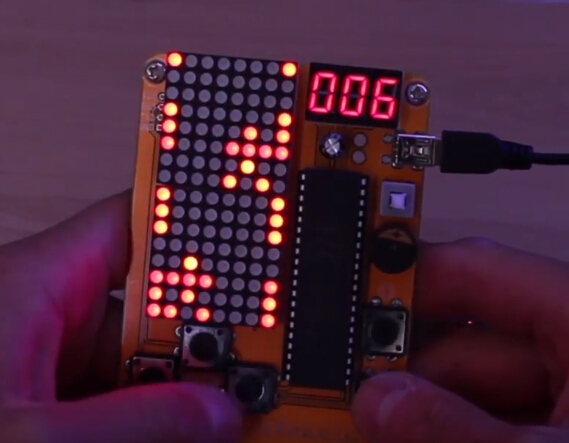
Tetris
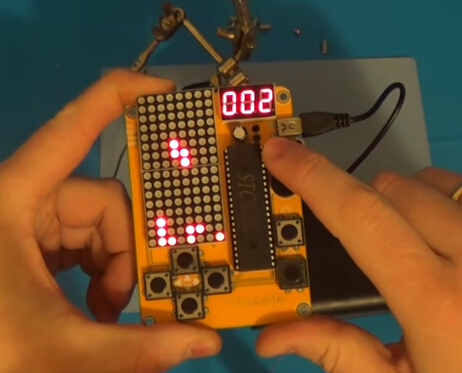
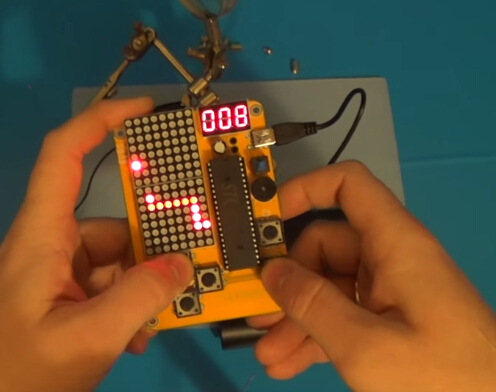
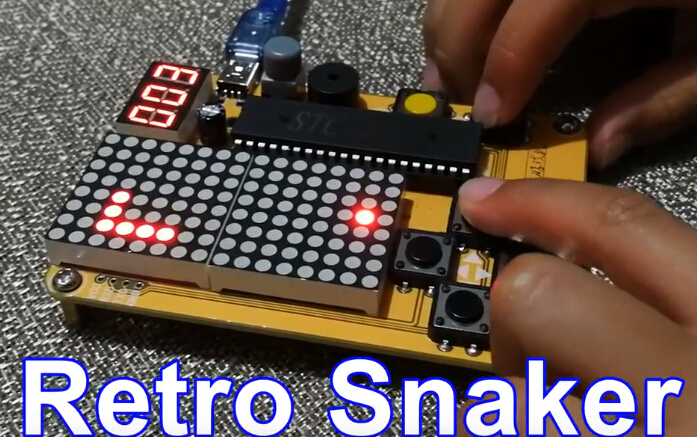
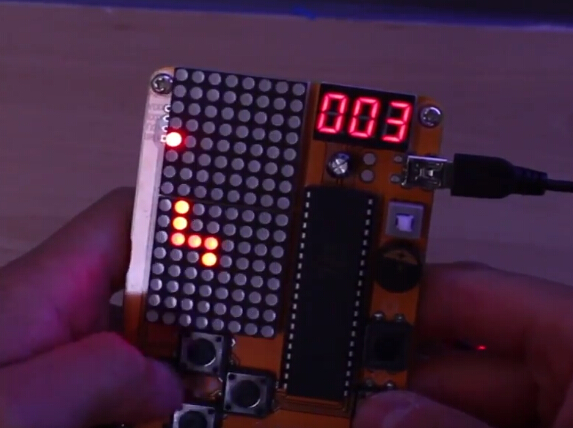
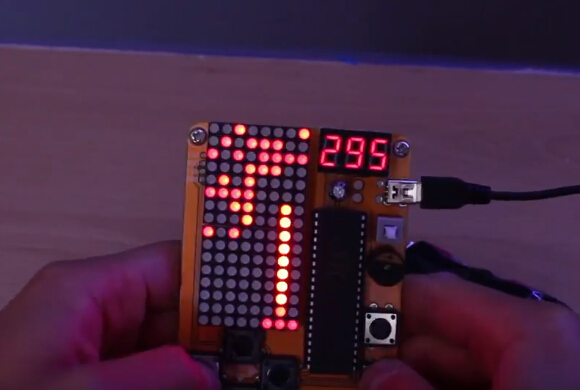
Retro Snaker
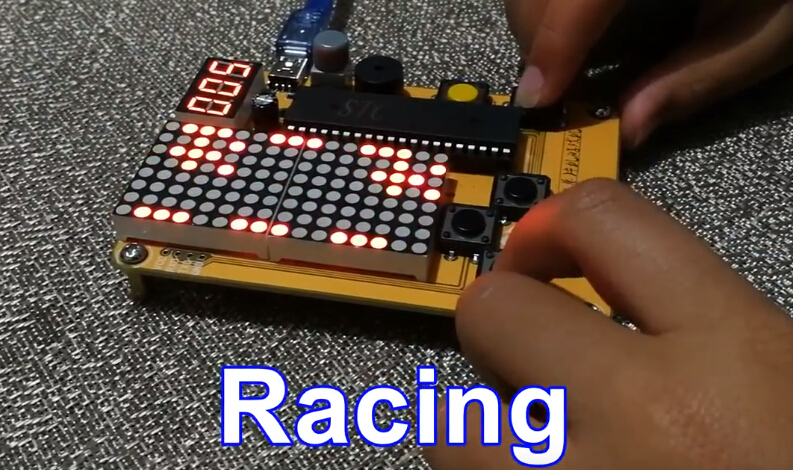
Racing
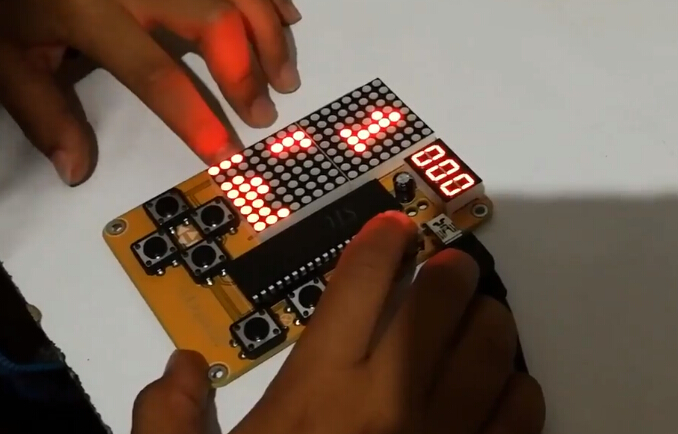
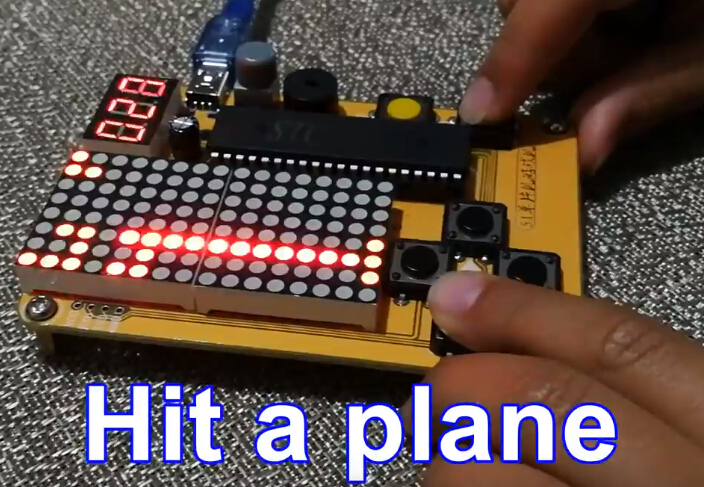
Hit a plane
Luminance regulation (upper down-regulation)
Music switch (firing button switch)
2>. Switch to the game interface, open the firing button into the game
Part of the game can be accelerated (firing button)
Tetris and snake support game suspension (menu button)
After death, the menu button exit
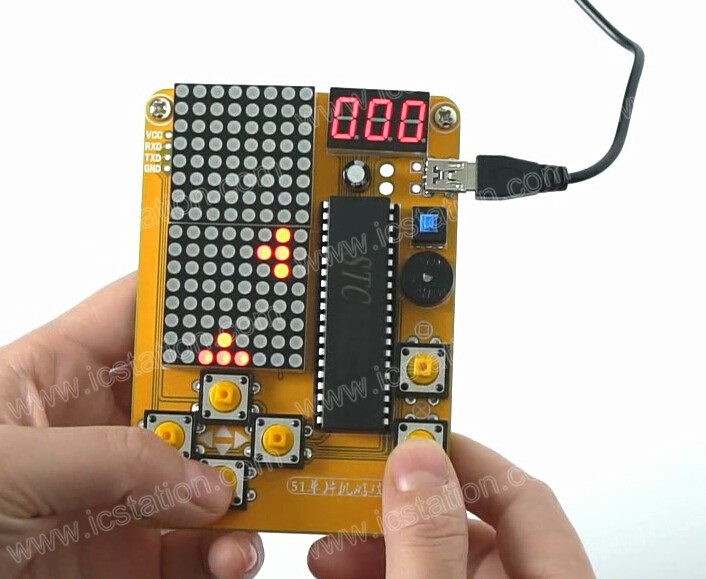
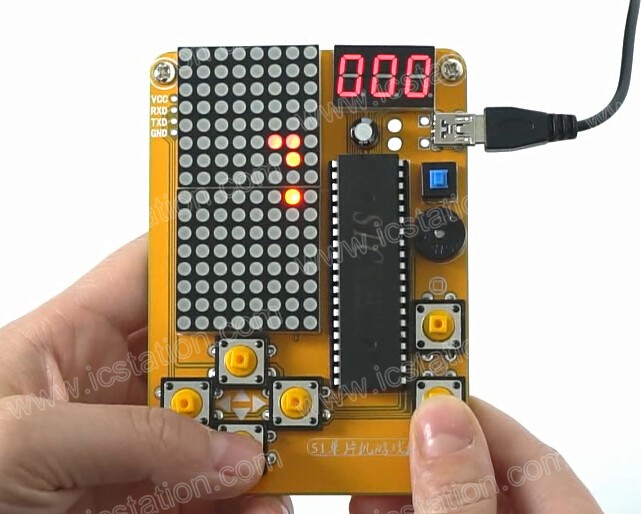
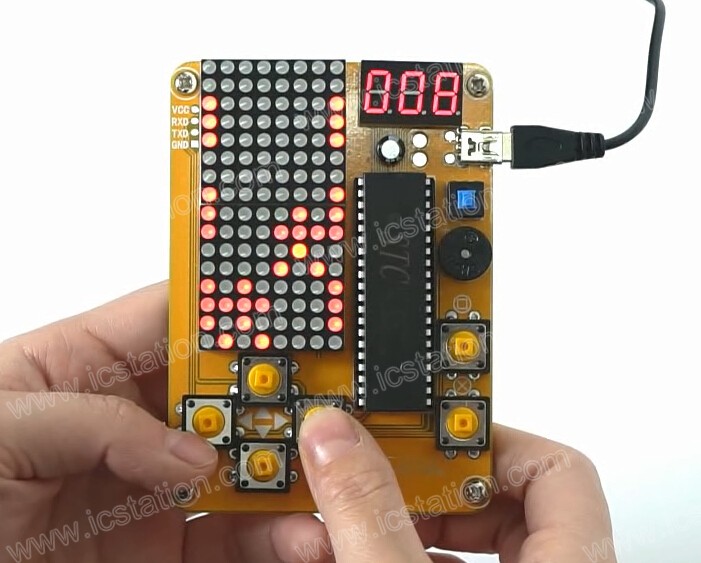
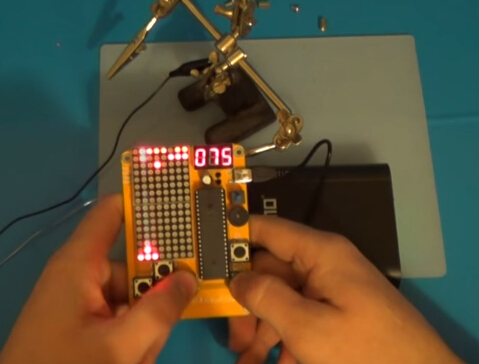
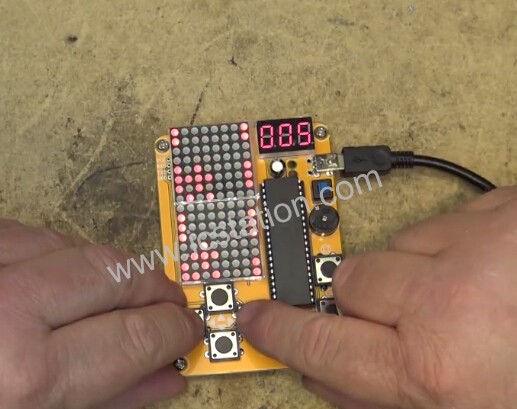
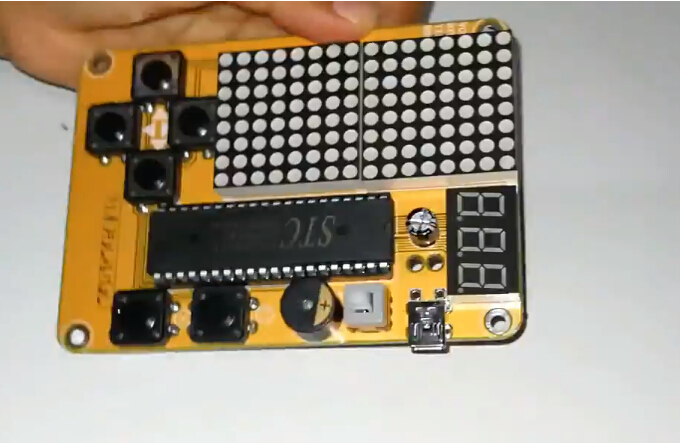
Product Details:
Tested by ICStation:
Tetris Game:
Snake Game:
Racing Game:
I. Tested by ICStation's Outstanding Partner OnlyKit.:
Tetris Game:
Snake Game:
Plane Game:
Learn More Details in the Video:
(The language in the video is Russian)
II. Tested by ICStation's Outstanding Partner 12voltvids:
Learn More Details in the Video:
(The language in the video is English)
III. Tested by ICStation's Outstanding Partner DrakerDG:
Learn More Details in the Video:
(The language in the video is Spanish)
IV. Tested by ICStation's Outstanding Partner MrJefferson105:
Learn More Details in the Video:
(The language in the video is English)


