- prev
- next
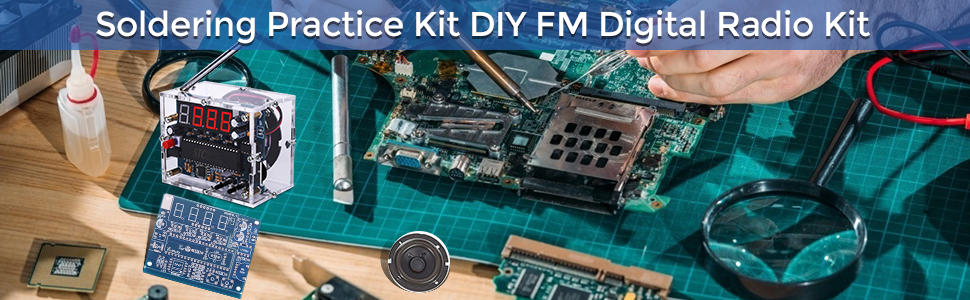
DC 4.5V-5.5V 87.0MHz-108.0MHz Wireless FM Radio Receiver DIY Kit for Soldering Learning Teaching
| Quantity | 5+ | 10+ | 30+ |
| Price | $14.70 | $14.20 | $13.70 |
Product Details
Part 1: Introduction
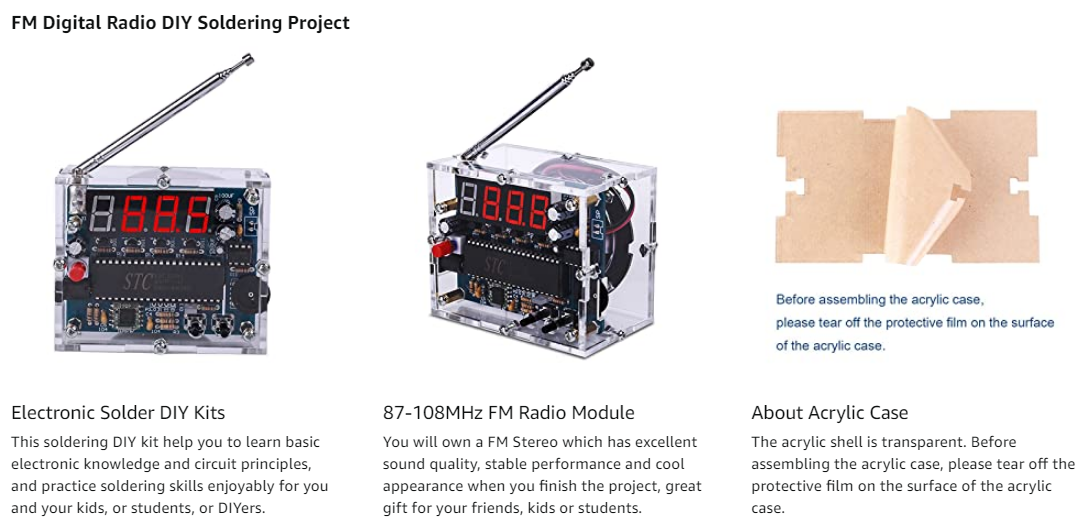
It is an 87.0MHz-108.0MHz Wireless FM Radio Receiver DIY Kit. It has a built-in 4-Bit Red Digital Tube display screen which can clearly display the receiving frequency.
Part 2: Feature
1.Automatically search for radio stations
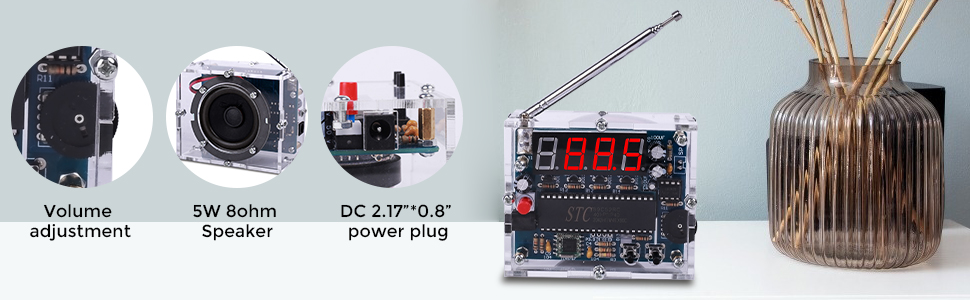
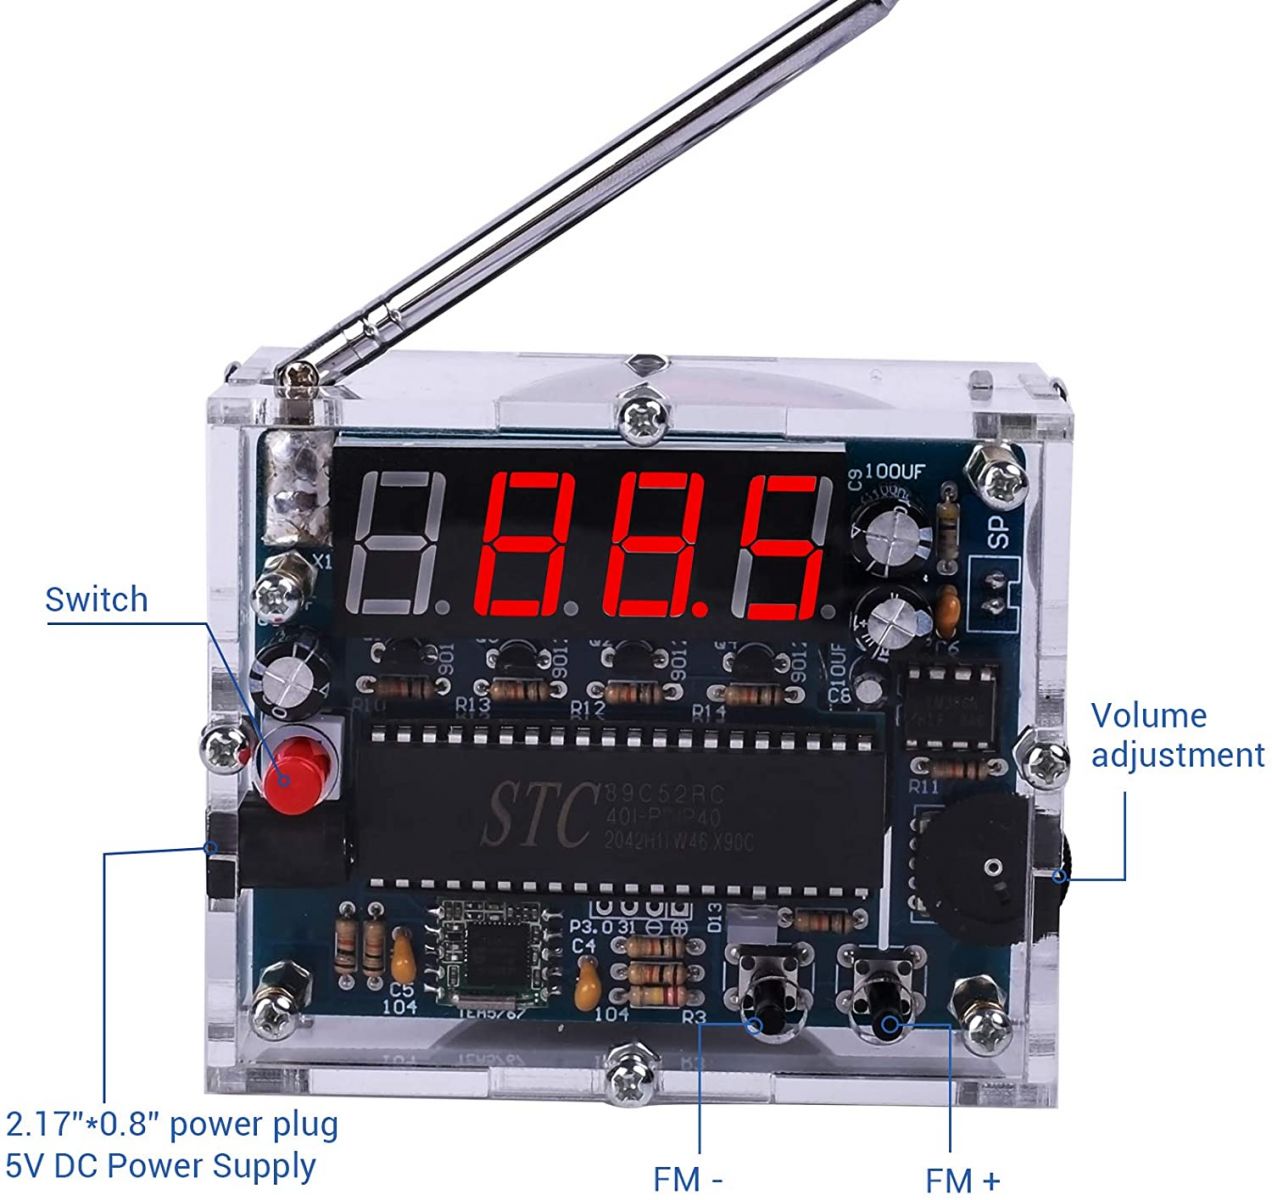
2.Built-in volume adjustment
3.Automatic memory function after power off
4.Support 87Hz-108MHz receiver frequency
5.Built-in 5W power amplifier
6.Power saving mode with backlight off for 5 seconds
Part 3: Parameter
1.Product Name:FM Radio Receiver DIY Kit
2.Work Voltage:DC 4.5V~5.5V
3.Output impedance:8ohm
4.Output power:5W
5.Output channel:Mono
6.Receiver Frequency:87.0MHz~108.0MHz
7.Frequency accuracy:0.1MHz
8.Equivalent noise: >=30dB
9.Work Temperature:-40℃~85℃
10.Work Humidity:5%~95%RH
11.Size(Installed):83*69*53mm
Part 4: Using Methods
1.Press left button to decrease receiving frequency.
2.Press right button to decrease receiving frequency.
3.Rotate potentiometer to adjust the volume.
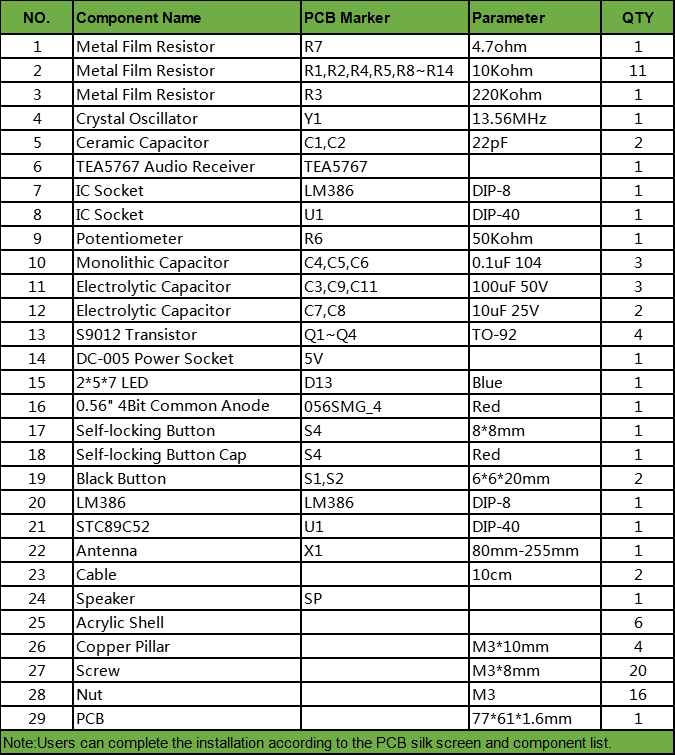
Part 5: Component List
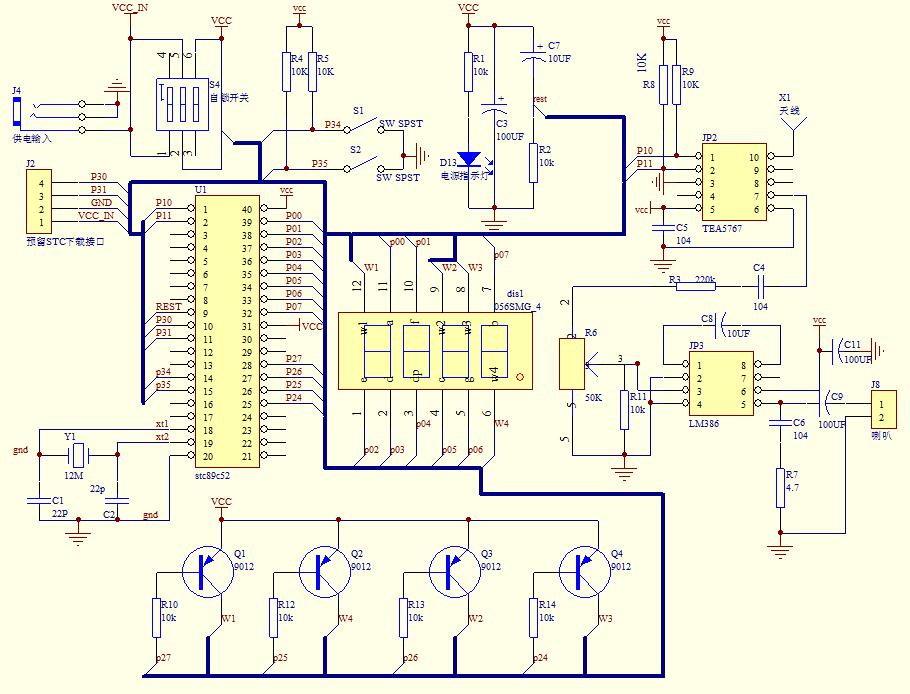
Part 6: Schematic Diagram
Part 7: Notice
1.The frequency can be adjusted continuously by keep press button.
2. It is a wireless module. So do not use it in an environment with signal interference.
3.The display can only show for 5 seconds and then enter to power saving mode.
4. It is normal that there will be some noise when the digital tube display is on. The sound quality will be better when the digital tube display is turned off. Power saving mode with backlight off for 5 seconds. Please download the user manual before assembling.
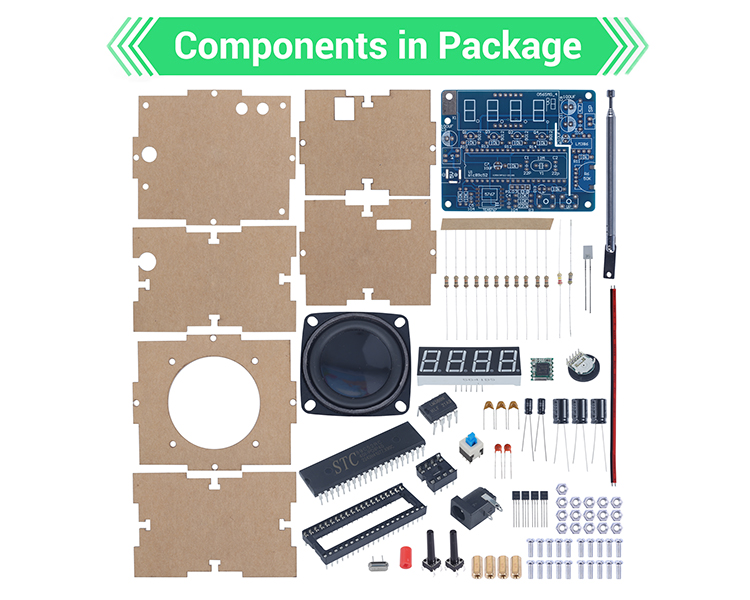
Part 8: Installation Steps (Please be patient)
.png)