
- prev
- next
Colorful RGB Dream Light Circle LED DIY Kit Music Round Spectrum Module 8x32 Dot Matrix with Protective Shell for Birthday Gift
Product Details
Warm Tips:
This DIY installation is more difficult to be installed, please be patient until the installation is complete!!!
It is strongly recommended to browse the installation manual before starting installation!!!
Description:
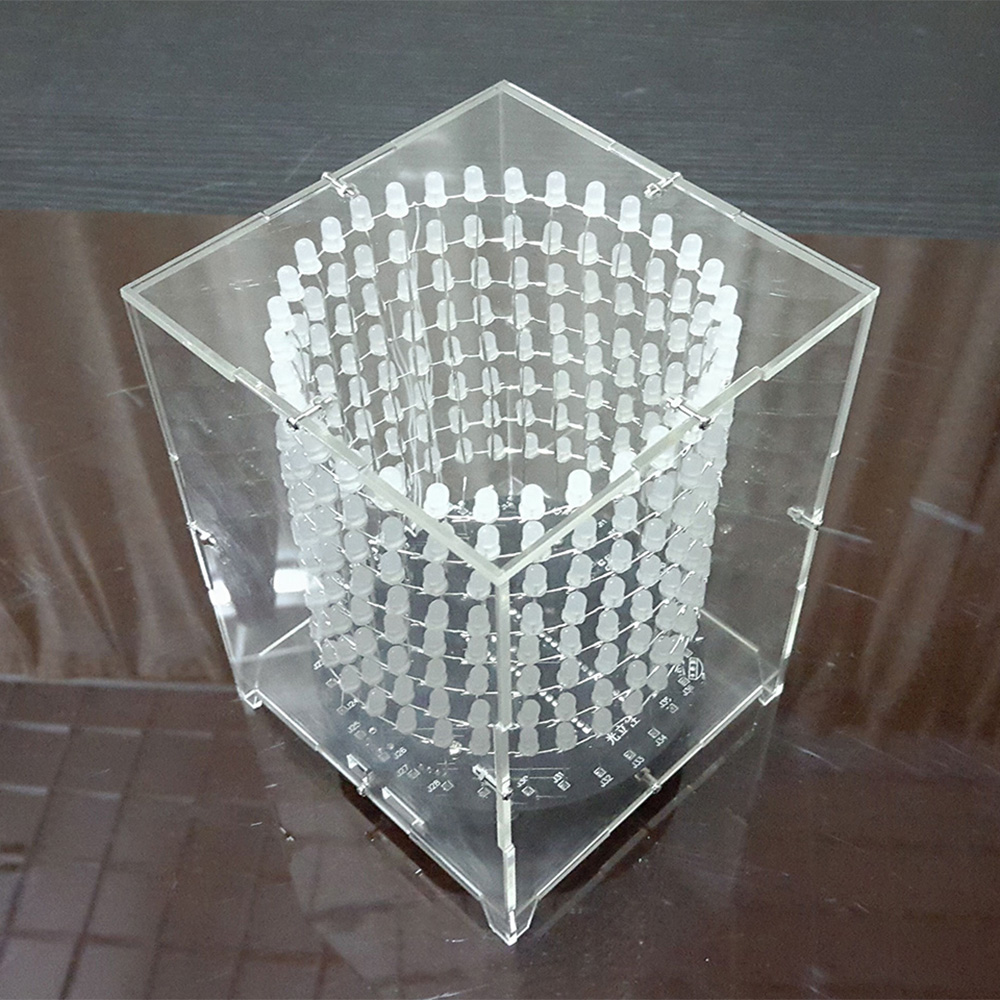
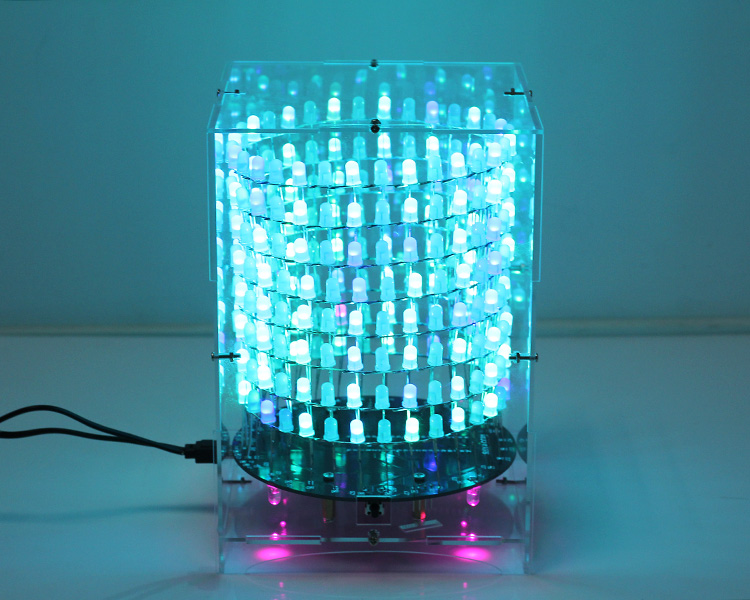
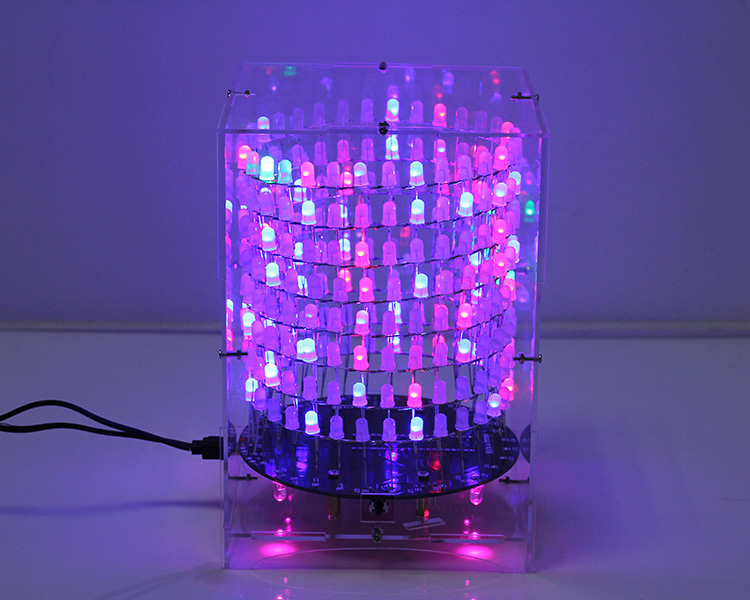
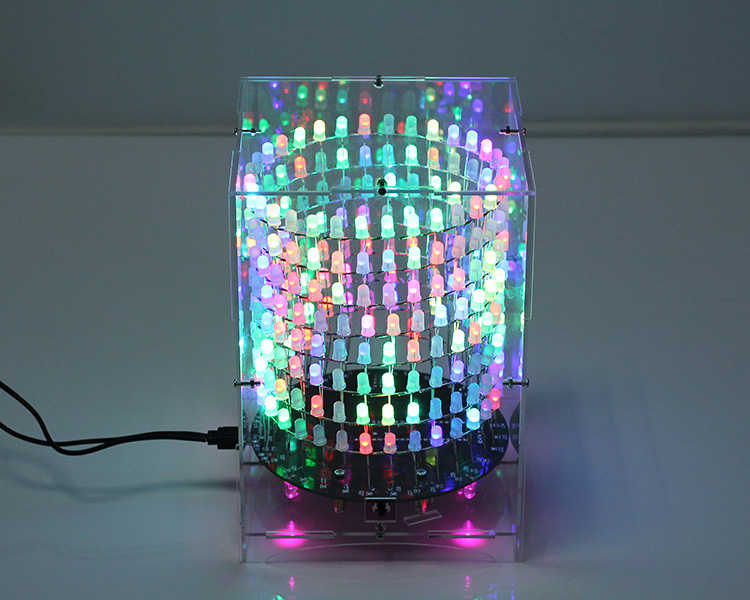
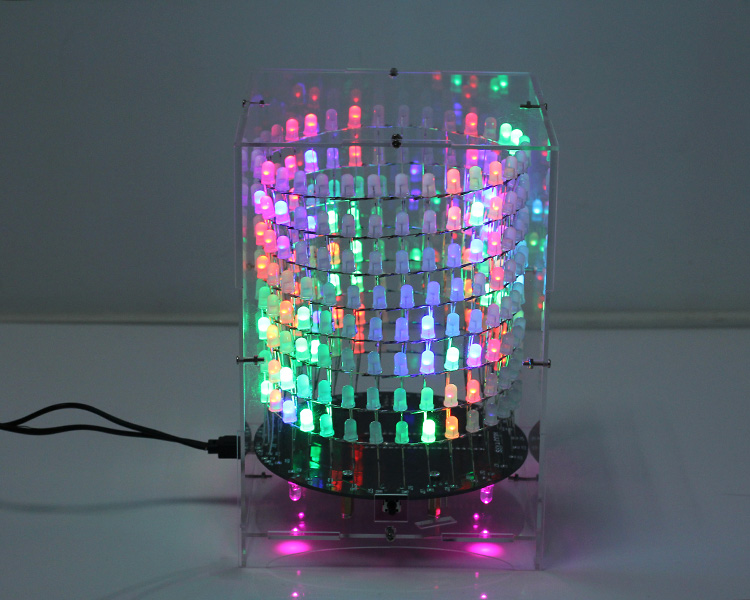
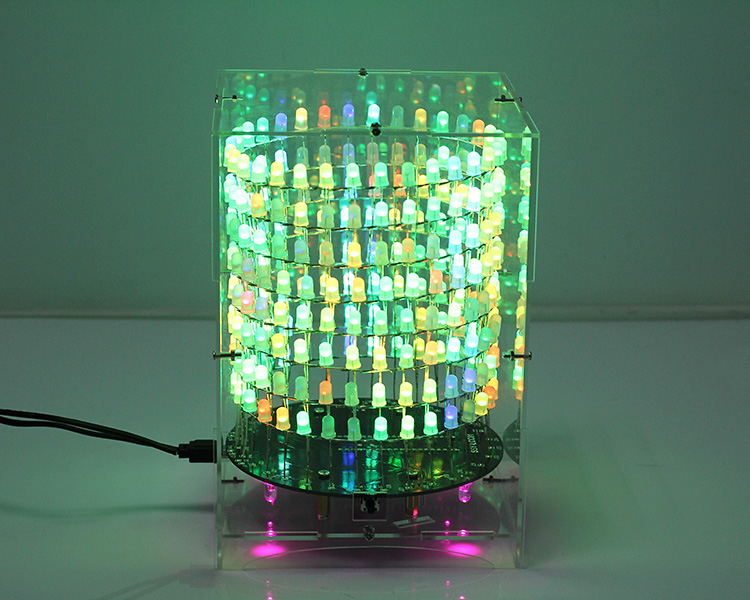
This is a light cube DIY kit that you need to weld and assemble by yourself. The bottom plate comprises a circuit board and component parts. The 256 LED lights make up a cylindrical stereo space. A variety of cool model showing a three-dimensional effect. It's better to watch in the night.
Function:
1>. Design of 8*32 (dot matrix) lamp
2>. Various modes can be switched as your wish:
---Offline animation models (up to a dozen)
---Alphabet animation model (four English festivals)
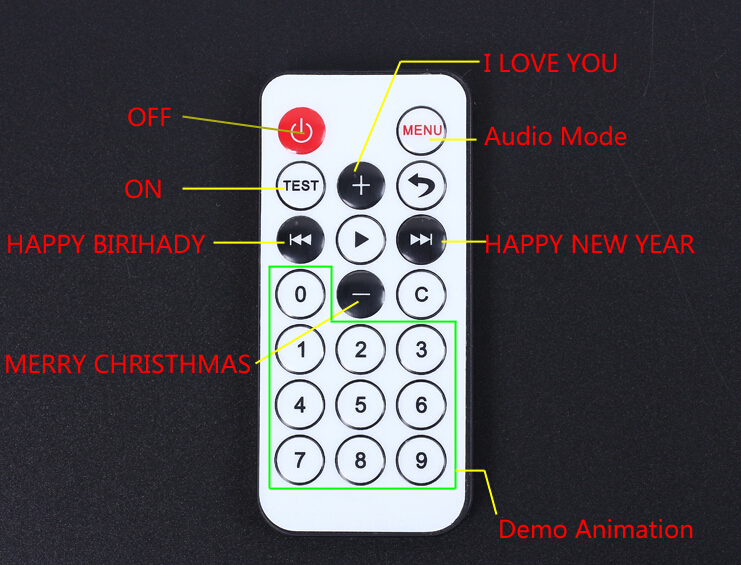
Four English expressions:
I LOVE YOU
HAPPY BIRTHDAY
HAPPY NEW YEAR
MERRY CHRISMAS
---Music spectrum mode (four audio modes)
The spectral mode needs to be connected with an input audio signal, so that the optical cube can beat the music spectrum rhythm.
3>. The circuit board uses black classic painting, which adds a mysterious feeling
4>. Remote control buttons can be converted at any time mode
Parameters:
1>.Operating voltage: 5V USB power supply
2>. Installation method: DIY welding assembly
3>. Power supply mode: mobile phone charger, computer, charging treasure
4>. Shell size: length 123mm*width 123mm*height 176mm
5>. Circuit board material: 1.6mmRF--4 board
6>. Color: Mist Colorful +shell
Component list:
| NO. | Component Name | PCB Marker | Parameter | QTY |
| 1 | 74AC573 | U1-U5 | SOP-20 | 5 |
| 2 | ULN2803 | U6 | SOP-18 | 1 |
| 3 | 40Pin IC Socket | U7 | DIP-40 | 1 |
| 4 | STC12C5A60S2 | U7 | DIP-40 | 1 |
| 5 | SMD 0805 Capacitor | C1,C2 | 27pf | 2 |
| 6 | SMD 0805 Capacitor | C5 | 47pf | 1 |
| 7 | SMD 0805 Capacitor | C6 | 10uf | 1 |
| 8 | SMD 0805 Resistor | R1-R5 | 1K | 5 |
| 9 | SMD 0805 Resistor | R6 | 10K | 1 |
| 10 | Crystal Oscillator | Y1 | 12MHz | 1 |
| 11 | LED Pink | D1-D4 | 5mm | 4 |
| 12 | MINI USB Socket | P1 | 1 | |
| 13 | Button | S1 | 1 | |
| 14 | Infrared Receiver | LED-S | VS1838B | 1 |
| 15 | Self-Locking Switch | S | 1 | |
| 16 | LED RGB | 5mm | 256 | |
| 17 | Remote Control | 1 | ||
| 18 | Audio Adapter | 1 | ||
| 19 | Male Pin | X | 4P | 1 |
| 20 | M3 Screw | 4 | ||
| 21 | M3 Copper pillar | M3*15 | 4 | |
| 22 | Acrylic Template | 1 | ||
| 23 | Power Audio Cable | 1 | ||
| 24 | Cable | 100cm | 1 | |
| 25 | PCB | D115mm | 1 | |
| 26 | Acrylic Shell | 6 | ||
| 27 | M2 Screw | M2*10mm | 12 | |
| 28 | M2 Nut | 12 |
NOTE: Users can complete the installation by PCB silk screen and component listing.
Soldering:
Attention: 30W electric iron, and do anti-static measures, welding time should be controlled within 3 seconds.
Making process:
1>. Prepare the making templates.
2>. Break the LED short pin(negative pole) and the long pin (positive) into 90 degrees.
3>. Put the good LED into the template, and the short pin outwards.
4>. LED short pins are welded together clockwise, from the first point to the last point.
5>. When the LED short pins are welded together, the excess pins are cut off. Make 8 lamp rings by the same method.
6>. Make sure that the positive electrodes between the two LED lamps rings are welded together. Please refer to the picture of the space between layers.
7>. Make two 4 layers of lights, through the above steps, and then the two 4 layer lights welded together, complete the lamp post.
8>. Install the LED lamp post on the circuit board. Welding the positive (long foot) of the next row of LED to the J9--J40 of the circuit board, welding the J1 to the first layer of the plate with a white wire, and welding the J2 to the second layer. Finish it by analogy.
Music spectrum usage:
1>. Connect the T port of the power audio line to the package input.
2>. Connect the power audio line USB terminal to the computer USB interface power supply or other +5VUSB power supply interface.
3>. Connect the power audio line 3.5mm earphone connector to one of the two audio seats.
4>. Connect the audio input line of the audio device to the other end of the two audio seat.
5>. Connect the input of a two audio seat to the mobile phone or computer.
Remote control button description:
Here the Installation Manual:
.png)
Finished Product Picture:
You Might Also Like
-
 DIY Kit SMD Component Soldering Practice
$2.58$3.69
DIY Kit SMD Component Soldering Practice
$2.58$3.69


