1.Description:
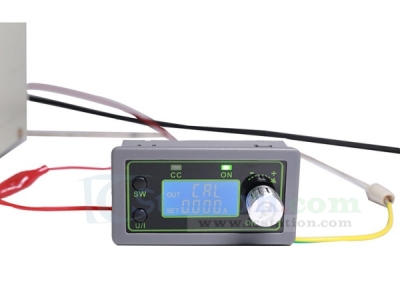
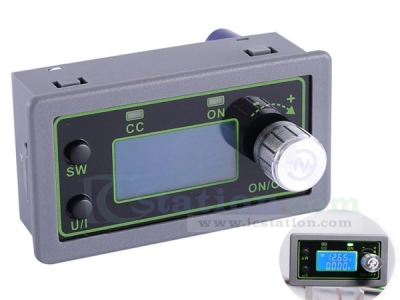
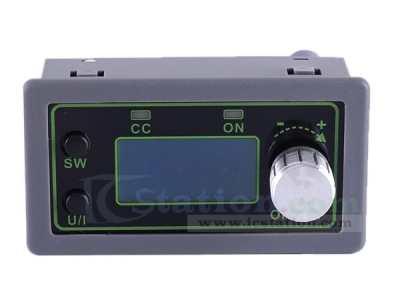
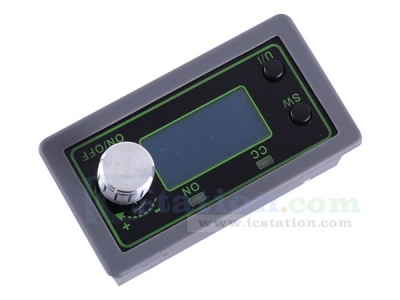
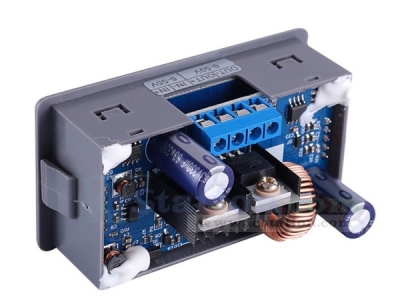
WZ5005L is a DC 50V 5A 250W adjustable constant voltage constant current automatic step down power supply module with LCD display.HD display input voltage and output voltage, current, power, capacity, and time.Adjustable stable output voltage and current.Set output current to meet the demand.It can be used as ordinary buck power supply module, charger and LED constant current driver.Simple and efficient, practical.
2.Features:
1>.DC 55V input work voltage
2>.250W output power
3>.Multiple parameters are displayed simultaneous
4>.Enabled/disabled output
5>.Constant voltage constant current output
6>.Support input anti-reverse protection
7>.Support output anti-backflow protection
8>.Support output over-voltage protection
9>.Support output over-current protection
10>.Support output over power protection
11>.Support input under-voltage protection
12>.Support timeout protection
13>.Support output over-capacity protection
14>.Display input voltage
15>.Display output voltage, current, power
16>.Working status indicator
3.Parameters:
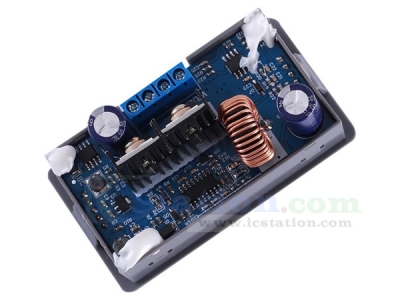
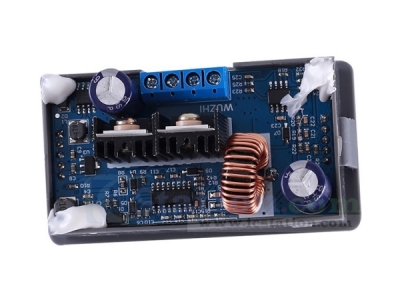
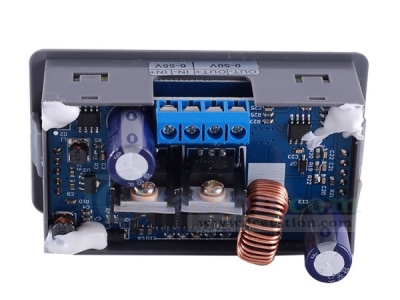
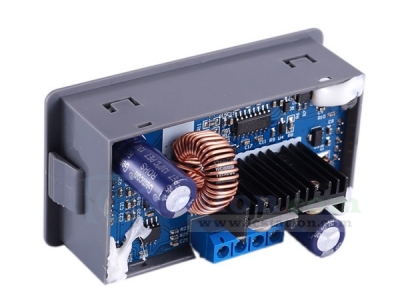
1>.Product Name:WZ5005L 50V 5A Step Down Power Supply Module
2>.Product Number:WZ5005L
3>.Working Voltage:DC 6.0V-55.0V
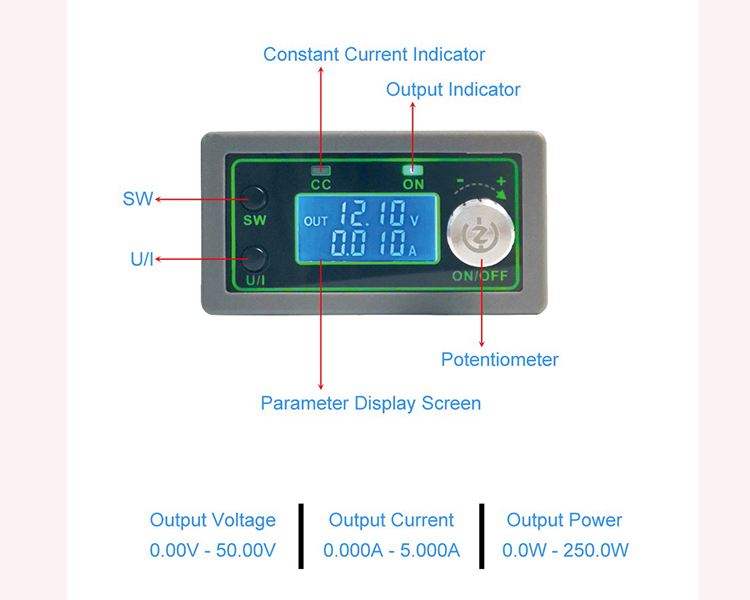
4>.Output Voltage:DC 0.0V-50.0V
5>.Output Current:5.0A(Max)
6>.Output Power:250W(Max)
7>.Output Voltage Difference:>0.05%+1V
8>.Voltage Display Resolution:0.01V
9>.Current Display Resolution:0.001A
10>.Input Voltage Precision:0.1%
11>.Output Voltage Precision:0.3%
12>.Current Display Precision:0.5%
13>.Output ripple:150mV-PP
14>.Detection capacity range:0.00AH-99.99AH
15>.Capacity display error:2%
16>.Statistical time range:00:00-99:59Hour
17>.Conversion efficiency:About 88%
18>.Input Anti-reverse Protection:Yes
19>.Output Anti-backflow Protection:Yes
20>.Input under-voltage protection:Yes(5.8V-50V Adjustable.Default 5.8V)
21>.Output over-voltage protection:Yes(0V-51V Adjustable.Default 51V)
22>.Output over-current protection:Yes(0V-5.1A Adjustable.Default 5.1A)
23>.Output over power protection:Yes(0V-260W Adjustable.Default 260W)
24>.Timeout protection:Yes(00:00-99:59Hour Adjustable.Default OFF)
25>.Output over-capacity protection:Yes(0.00AH-99.99AH Adjustable.Default OFF)
26>.Working Temperature range:-20℃~40℃
27>.Working Humidity range:0%-95%RH
28>.Size:79*43*58mm
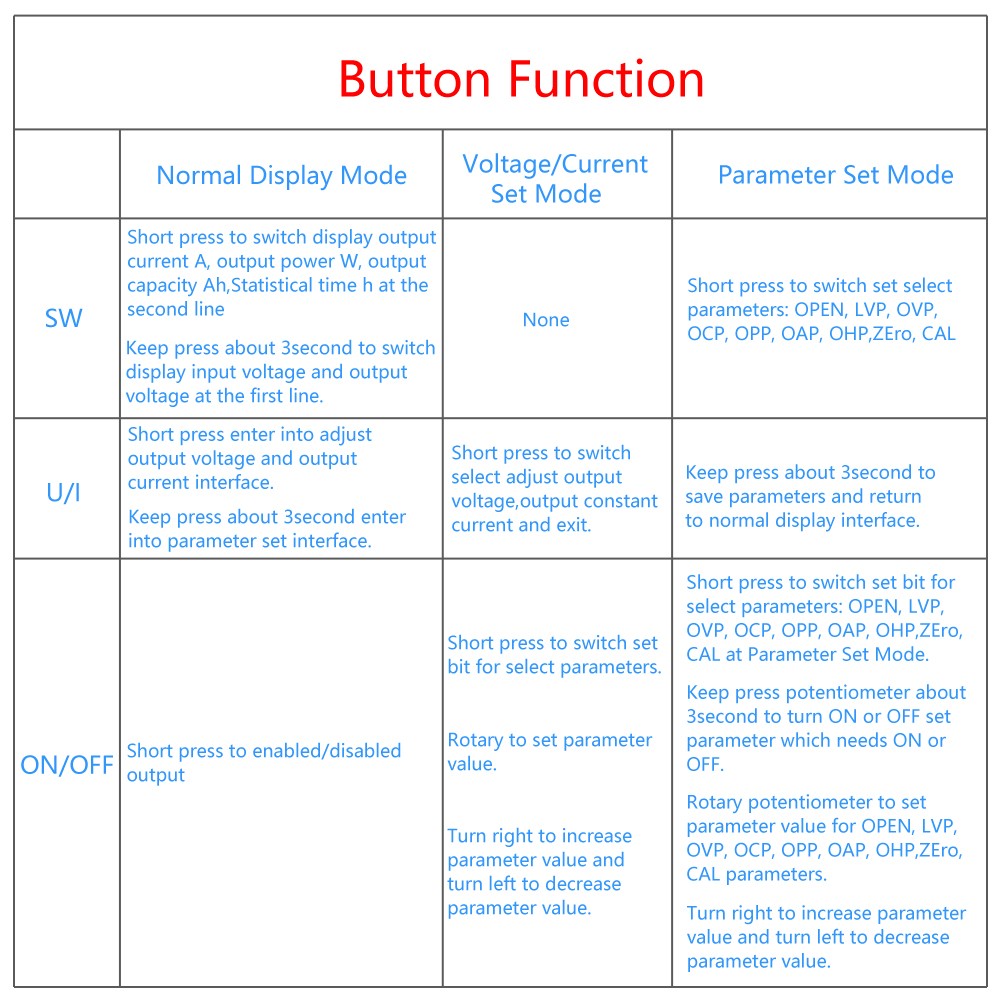
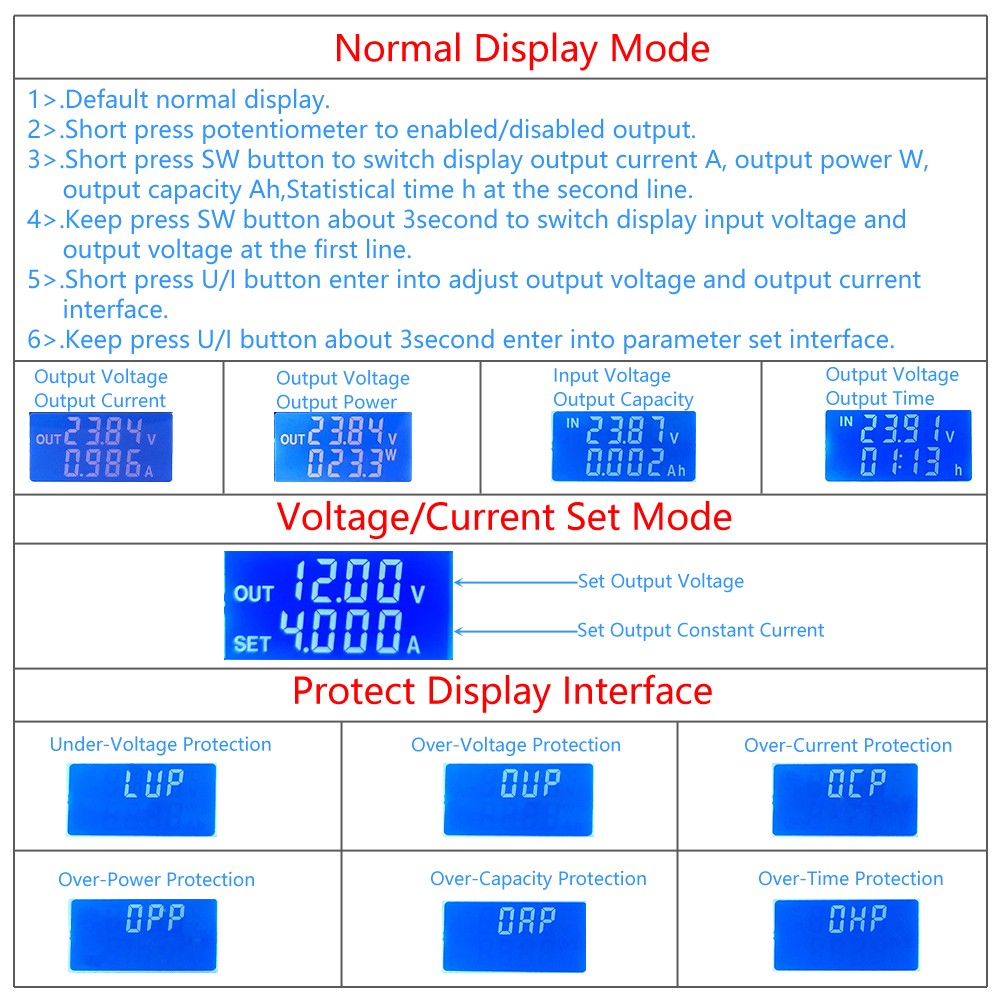
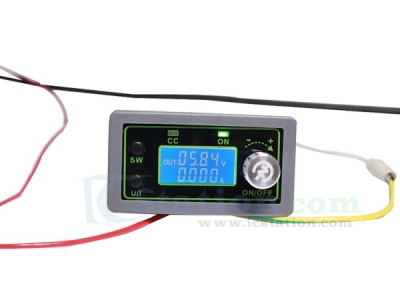
4.Normal Display Mode:
1>.Default normal display.
2>.Short press potentiometer to enabled/disabled output.
3>.Short press SW button to switch display output current A, output power W, output capacity Ah,Statistical time h at the second line.
4>.Keep press SW button about 3second to switch display input voltage and output voltage at the first line.
5>.Short press U/I button enter into adjust output voltage and output current interface.
6>.Keep press U/I button about 3second enter into parameter set interface.
5.Voltage/Current Set Mode:
1>.Short press U/I button to switch select adjust output voltage, output constant current and exit.
2>.Short press potentiometer to switch set bit for select parameters.
3>.Rotary potentiometer to set parameter value. Turn right to increase parameter value and turn left to decrease parameter value.
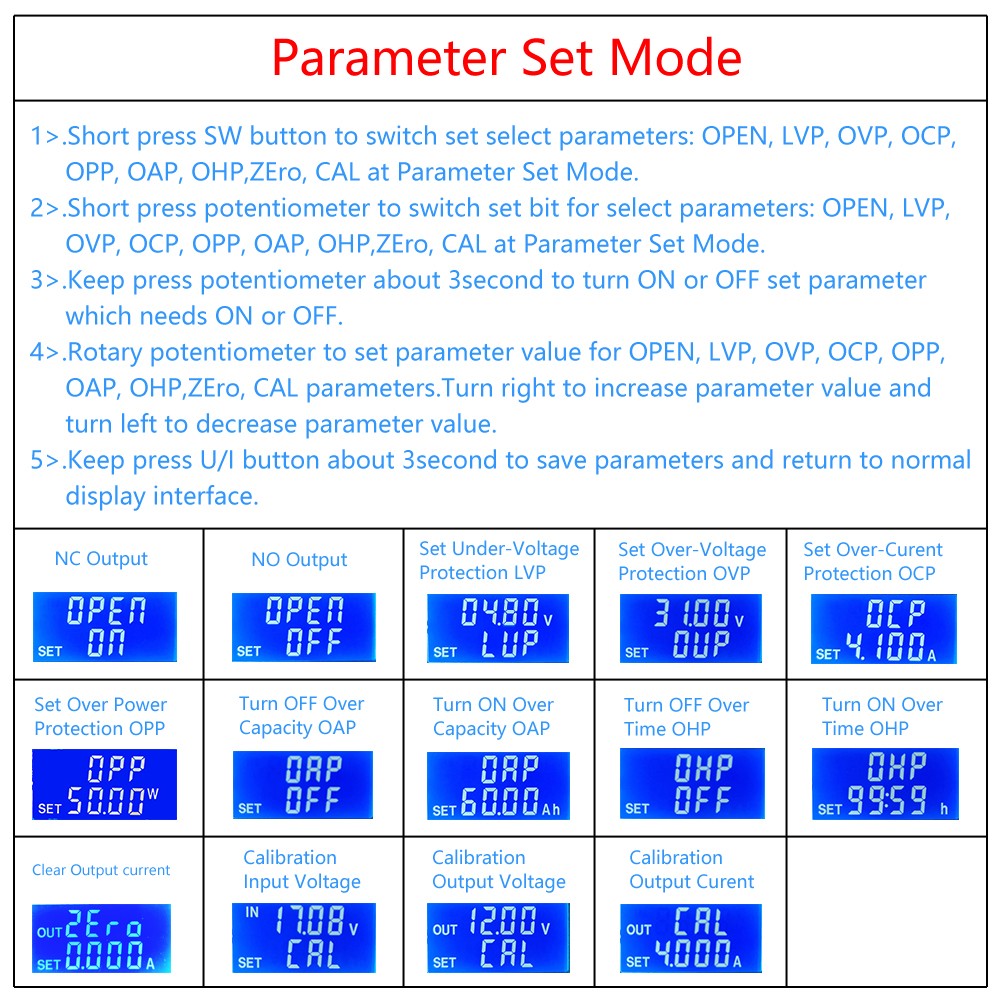
6.Parameter Set Mode:
1>.Short press SW button to switch set select parameters: OPEN, LVP, OVP, OCP, OPP, OAP, OHP,ZEro, CAL at Parameter Set Mode.
2>.Short press potentiometer to switch set bit for select parameters: OPEN, LVP, OVP, OCP, OPP, OAP, OHP,ZEro, CAL at Parameter Set Mode.
3>.Keep press potentiometer about 3second to turn ON or OFF set parameter which needs ON or OFF.
4>.Rotary potentiometer to set parameter value for OPEN, LVP, OVP, OCP, OPP, OAP, OHP,ZEro, CAL parameters.Turn right to increase parameter value and turn left to decrease parameter value.
5>.Keep press U/I button about 3second to save parameters and return to normal display interface.
7.Setting Method:
1>.Set output voltage:
1.1>.Short press U/I button at normal display mode then one Bit will flashing.
1.2>.Rotary potentiometer to change value for flashing bit.
1.3>.Short press potentiometer to move flashing bit as required.
1.4>.Rotary potentiometer to change value for flashing bit.
1.5>.Repeat rotary and press potentiometer to finish set output voltage.
1.6>.Keep press U/I button about 3second to save parameters and return to normal display interface.
2>.Set output constant current:
2.1>.Short press U/I button at normal display mode.
2.2>.Short press U/I button again and then one Bit will flashing.
2.3>.Rotary potentiometer to change value for flashing bit.
2.4>.Short press potentiometer to move flashing bit as required.
2.5>.Rotary potentiometer to change value for flashing bit.
2.6>.Repeat rotary and press potentiometer to finish set output constant current.
2.7>.Keep press U/I button about 3second to save parameters and return to normal display interface.
3>.Set default power-on state:
3.1>.This function set by parameter OPEN at parameter set mode.
4>.Calibration voltage and current:
4.1>.This function set by parameter Zero and CAL at parameter set mode.
4.2>.Display Zero+OUT+A is used to clear output current display by keep press potentiometer about 3second.
4.3>.Display CAL+IN+V is used to calibration display input voltage by rotary potentiometer to set calibration value.
4.4>.Display CAL+OUT+V is used to calibration display output voltage by rotary potentiometer to set calibration value.
4.5>.Display CAL+OUT+A is used to calibration display output current by rotary potentiometer to set calibration value.
4.6>.Keep press potentiometer to save parameter value and exit.
4.7>.Keep press U/I button about 3second to save parameters and return to normal display interface.
4.8>.Please make sure the voltage is more than 12V in order to ensure the accuracy of calibration.
4.9>.Please make sure the current is more than 1A in order to ensure the accuracy of calibration.
8.Auxiliary Function:
1>.Statistics Capacity and work time:The statistics are started when turn ON output, and the statistics are stopped when the turn ON at next time.
2>.Set Maximum Output Capacity OAP:WZ5005L disabled output and LCD flashing display OAP when Statistics Capacity Value is more than set maximum value OAP if enabled OAP function.Automatically clear capacity statistics after the alarm is cleared.WZ5005L will automatically count whether or not OAP is enabled.But output will not disabled output if disabled OAP function.
4>.Set Maximum Running Time OHP:WZ5005L disabled output and LCD flashing display OHP when Statistics Work Time is more than set maximum value OHP if enabled OHP function.Automatically clear work time statistics after the alarm is cleared.XY-SK80 will automatically count whether or not OHP is enabled.But output will not disabled output if disabled OHP function.It is countdown mode if enabled OHP.
5>.CC and CV display:CC Indicator will turn ON if output current reaches the set current value.
9.Note:
1>.Input undervoltage protection voltage is 5.8V. Module need re-power if input less than 5.8V.
2>.It is a step down converter and so the output voltage must be less than the input voltage and make sure Vout<Vin*0.05%+1V.
3>.It is a DC power module,So it can not connect to AC power.
4>.Please connect input before connect battery when use as charge and make sure output voltage is higher than battery voltage.
5>.’IN-’ and ‘OUT-’ can not be connect together.Otherwise module can not support constant current output.
6>.Please make sure input power is more than load power.
7>.Please step down output power if module is hot.
8>.Please read use manual and description before use.
10.Application:
1>.Ordinary power supply
2>.Battery charger
3>.LED drive power
4>.Instrument voltage display
5>.Test meter
6>.Circuit test
7>.Power conversion
11.Package:
1pcs WZ5005L 50V 5A Step Down Power Supply Module

We offer worldwide FREE shipping for all orders over $20 USD! Below are the details for our different shipping methods:
1. Regular Shipping: Yanwen / YunExpress / 4PX / China Post Airmail Service
(1) Shipping Fee: $3~$5
All orders will be shipped via standard normal post with tracking number service, which can be tracked on our website.
Note:
1.Shipping fee to USA, Australia, Newzealand is $3 usd. The other countries need $5 usd.
2.Any order (from any country) price is more than $20 USD, you won't need to pay the $3~$5 USD registered shipping fee.
(2) Delivery Time
Most countries can expect delivery within 7-20 business days, depending on your location:
7-15 working days: Most of Asia countries
10-16 working days: USA, Canada, Australia, UK, Most of Europe countries
20-40 working days: Brazil, Most of South America countries
Important: Since 2021, sellers outside the EU must provide an IOSS VAT number and pay for the VAT billing monthly to ship to EU countries. Therefore, we charge the VAT fee in advance for EU customers. Rest assured, they will not be charged the VAT fee again when the package arrives.
2. Express Shipping: DHL / FedEx / UPS
(1) Shipping Fee: Free for orders that meet the following requirements:
Total price of the order is over $200 USD
Note:
1. For European countries, please provide Tax/EORI Number when you need this shipping.
2. Any import tax/duties fees are on buyer's side. We are not responsible for it.
(2) Delivery Time
Most countries can expect delivery within 7-10 working days:
Asia: Japan, South Korea, Malaysia, Singapore, Thailand, Vietnam, Cambodia, Indonesia, Philippines
Oceania: Australia, New Zealand, Papua New Guinea
Europe & America: Belgium, Britain, Denmark, Finland, Greece, Ireland, Italy, Luxembourg, Malta, Norway, Portugal, Switzerland, Germany, Sweden, France, Spain, USA, Austria, Canada
Important Notes:
1.Please provide a physical address for order delivery since DHL and FedEx cannot deliver items to APO or PO BOX addresses.
2.The recipient's contact phone number is required by express shipping agencies for package delivery.
3.EU customers must provide a VAT and EORI number for express shipping. If you can't provide either number, consider using regular post shipping.
4.Korean customers must provide CNEE'S PCCC or date of birth for custom clearance when using express shipping.
5.Brazilian customers must provide the CNPJ or CPF number for custom clearance when using express shipping.
6.For Taiwan customers, we default to the ShunYou Post courier. If you need Express S.F. Shipping, please provide one of the following:
Taiwan local ID card (such as A+9 digits)
Passport
Local residence permit
Company name and Unified Business No.
Other Important Information
7.Delivery Time of mixed orders with items in different Shipping Status should be calculated using the longest estimate times listed.
8. During annual Chinese holidays (e.g. Chinese New Year, Chinese National Day), delivery for orders placed around these times may be delayed by 3-7 days.
9.Once your order is shipped, you will receive an email notification from icstation.com.
10. For tracking your order with a tracking number, please visit the following websites:
Regular shipping: www.17track.net/en
4PX: en.4px.com/
DHL: www.dhl.com
FedEx: www.fedex.com
We hope this information helps you understand our shipping and delivery policies. If you have any further concern, feel free to contact us via email orders@icstation-team.com, thanks for your attention.